To enhance your property, you are considering undertaking exterior renovation work. Among the various facade restoration options, scratched render catches your attention.
If you want to achieve a better finish, know that its application should not be taken lightly. Some techniques must be mastered since the wall’s protection and its aesthetic appearance depend on it. Before going into details, it is appropriate to provide you with the definition of scratched render to better understand the subject.
My editorial vision: In my opinion, scratched render represents the pinnacle of elegance for a modern facade. I believe its texture, obtained by “scratching” the fresh coating, offers a perfect balance between rustic relief and contemporary sharpness. From my point of view, it is a demanding finish that does not tolerate amateurism: timing is everything. I consider that if you scratch too early, you tear off the material; too late, and the substrate is already set. For me, it is the top choice to enhance a property because it catches the light uniformly without the sometimes coarse look of classic sprayed render.
What is scratched render?
Render is primarily a facade coating applied using various techniques. It is a mortar coating made of lime, cement, and sand. As for scratched render, it is one of the render finishes, distinguished by its application method.
First, you apply a layer of coating by spraying or with a trowel. Then you scratch the still fresh coating using a nail trowel or nail board. Scratched render is another alternative to trowelled render, waxed, crushed, or sprayed. It is mainly suited for contemporary construction. But it can also be found on fences, monuments, or buildings.
Generally, it is used to soften the roughness of the render. It helps eliminate the excess of a sprayed coating. It provides a unique and decorative texture effect to exterior walls. Like Tollens paint, scratched render is gaining popularity. Sunday DIYers or qualified painters alike can use it with ease.
Just follow some guidelines according to best practices, and you’re good to go. Discover below how to use it properly:
How can scratched render be applied on an exterior facade?
Wall preparation
When you plan to apply anti-rust paint or wall paint for your interior walls, you must always properly prepare the surface. It’s the same with scratched render; you must start the operation with this step. If the substrate has cracks, do not hesitate to fill them with a filler coating. Your facade must be in good condition to receive the render.
The next phase concerns cleaning. Remove dust and moss clumps with a suitable brush. Then wash the walls using a water sprayer and a cleaning product.
If possible, it is preferable to apply a primer or even a undercoat. This simplifies the application of the render and ensures its adhesion to the surface.
Applying the scratched render
Once the wall is ready, you can apply the plaster. Before this operation, remember to moisten the surface using a sprayer. Whether you choose plaster in a pot or powder form, you must carefully follow the manufacturer’s instructions for its preparation. Once done, consider applying a first coat manually or with a spraying tool.
For the first technique, use a trowel or float. As for the second, use an Airless gun, which is a high-pressure device.
You have the option to apply several layers of plaster between 10 to 20 mm thick. Before scraping them, it is imperative to wait at least 15 minutes for the product to dry completely.
Once the time has passed, go over the previous passes again using a scraper or a nail float. To achieve a scraped finish, make circular motions.
It must be admitted that applying the scraped plaster takes a lot of time. It is advisable to do it during autumn or spring. You can work when the temperature is between 15 to 20 °C. Otherwise, the plaster will not hold over time.
I remember my first attempt on a fence wall on a very windy June afternoon. I had a real awakening to the importance of weather conditions: the plaster dried so quickly that I couldn’t keep up with my scraper. The result was uneven, with some areas too marked and others almost smooth. I felt some frustration, but it taught me humility in the face of mortar. Since then, I never start a large surface without having a coordinated team or favorable weather. That was the moment I understood that in construction, the technical gesture is inseparable from respecting the drying cycle of the material.
What are the advantages of using scraped plaster for the exterior of a building?
- Historical and modern use: This coating was previously used on the external walls of monuments. But thanks to its good reputation, it is currently very popular on the facades of modern houses.
- Remarkable aesthetics: At first glance, it is particularly aesthetic. Scraped plaster enhances the overall appearance of a property. It gives it an unprecedented character.
- Highlighting volumes: That’s not all, it allows you to highlight volumes. This finish offers you the opportunity to choose from many different shades. You can even mix by adding dye to the plaster during preparation.
- Camouflage of defects: Besides that, scraped plaster is widely used to cover imperfections. It serves to even out the surface in order to hide construction defects.
- Protection against weather: It also plays a protective role for your facade. Remember that it is the part of the house most exposed to weather and external aggressions.
- Resistance to elements: Thanks to scraped plaster, external walls resist rain, wind, snow, and frost. To maintain its characteristics, be sure to take proper care of it.
- Cost-effective: In terms of price, this finish has an attractive cost. Despite its many advantages, it is the least expensive solution to cover your facade.
- Choice of quality products: In any case, prioritize quality products which generally offer better longevity.
Comparison of facade plaster finishes
| Type of finish | Application technique | Final appearance | Maintenance | Resistance to dirt |
| Scratched plaster | Manual (scraper/scratch tool) | Fine and regular grain | Medium | Good |
| Projected plaster | Machine (rough projection) | Pronounced relief | Difficult | Low (dust retention) |
| Troweled plaster | Manual (trowel) | Smooth and uniform | Easy | Excellent |
| Crushed plaster | Machine + manual smoothing | Flat and wide relief | Medium | Average |
How to clean and maintain a wall with scratched plaster?
By comparing with crushed or troweled plaster, the scratched plaster stands out by its rough texture. Because of this property, stains and dirt appear less visible on the wall. Your facade with scratched plaster therefore remains pleasant to look at over time.
Despite its aesthetic appearance, cleaning is always necessary. Moreover, this operation is very easy. You should start by assessing the condition of the wall. If you notice any cracks, try to fill them first. Once this step is done, proceed with cleaning using products specially adapted to the scratched plaster surface.
Vinegar-based solutions are among the most commonly used. The same goes for cleaners made of crystals or soda. Using a brush, apply the substance on the wall. Then let it act according to the time recommended by the manufacturer.
After this step, rinse the facade with a clear water jet. Do not hesitate to repeat the cleaning process in case of stubborn stains. During maintenance work, wear protective glasses and gloves.
If you want a flawless result, you can call on a professional. The team generally carries out steam or high-pressure washing. They can also use chemical products, diluting them in water and then applying them on the facade using a sprayer.
How to repair a wall whose scratched plaster has been damaged?
Unlike troweled plaster, scratched plaster does not crumble easily. It is known for its solidity. But over time, cracks may appear.
To prevent them from widening, you must repair them immediately by first clearing the affected area. You need to remove the damaged plaster and paint, then carefully clean the wall.
Find in the specialized store the appropriate filling plaster and adhesion primer. For the first to adhere to the surface, you must first apply the second using a brush. Spread it evenly all around the cavity.
After this product dries, now fill the hole. Use a spatula to seal it with filling plaster. Then let it dry until it hardens.
The next step is sanding with sandpaper. The goal is to remove traces. It is recommended to sand gently to avoid damaging the surrounding area.
So that the hole is no longer visible, remember to paint it with the color of the facade.
What tools are necessary for applying scratched plaster?
The application of this finish is accessible to everyone. You just need to have the right equipment. The first gear concerns everything that guarantees your protection.
To be able to work safely, equip yourself with appropriate glasses, a construction helmet, thick gloves, safety shoes and if possible, a coverall.
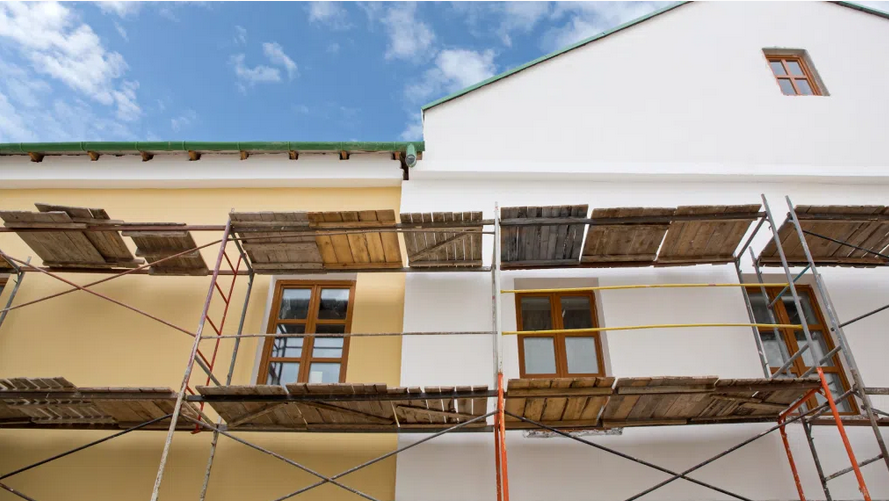
For work at height, use a ladder. If the walls exceed 3 or even 3.5 meters in height, prefer a scaffolding.
To protect window and door frames, use painter’s tape. Likewise, a protective tarp is essential for the floor and for plants.
Since the application of scratched render begins with wall preparation, you need good cleaning tools.
Use a brush or a broom to remove dirt. A sprayer helps you save time. You should also use cleaners such as white vinegar.
As for the actual application of the render, you obviously need the coating. Use a concrete mixer to ensure mixing.
Choose a quality trowel and an appropriate scraper for the scratched render. Ideally, an Airless spray gun allows you to work faster and more easily.
Is scratched render resistant to weather and temperature variations?
Whether the scratched render is applied by hand or mechanically, it is highly favored by professionals due to its protective quality.
No matter the chosen coating, whether paste or powder, it offers high resistance to moisture and weather. As a result, your facade can easily withstand heavy rain, strong wind, or even sticky snow.
While other types of renders can be damaged by temperature variations, the scratched render is able to defend itself against them.
It must be admitted that this situation is among the conditions that damage coatings the most. Fortunately, scratched render has the ability to tolerate it. That is why it can cover your exterior walls for a very long time.
What is the average lifespan of a scratched render on an exterior facade?
As a general rule, facade renovation must be redone every 10 to 15 years. This step is necessary when the material begins to deteriorate or fade.
But as we just explained in the previous section, scratched render stands out for its strong resistance and remarkable durability. In this sense, it has a long lifespan compared to other coatings.
Whether applied in 2 or 3 layers, its lifespan can reach 30 years. For higher quality products, it lasts up to 50 years. In short, scratched render can accompany your house for a very long time to protect and decorate it.
Scratched render: Review and comparison for a successful facade
Scraped render is generally more expensive than sprayed render. This is explained by the additional labor required, as after spraying the coating, the craftsman must manually go over the entire surface with a scraper to achieve the desired finish. The time spent on site is therefore almost doubled, which directly impacts the final quote, but guarantees a much higher-end aesthetic.
Yes, it is entirely possible and even very common. In this case, a specific thin coating is used, applied on a fiberglass mesh embedded in an undercoat. It is crucial to follow the manufacturer’s recommendations regarding thickness, as scraping too deeply could reach the mesh and compromise the waterproofing of the entire insulation system.
To maintain scraped render, I strongly advise against using a high-pressure washer at full power too close to the wall. This could tear off the grains of the coating and create porous areas. The best method is to use a low-pressure water jet combined with a diluted fungicidal and algicidal cleaning product, then gently scrub the dirtiest areas with a soft brush if necessary.