Pyrography is among the ancient techniques that allow creativity to be awakened. Even children can try it and fully enjoy it. You just need to accompany them since handling the equipment requires concentration and precision.
To carry it out successfully, it is imperative to equip yourself properly. The pyrography pen is the right tool to help you achieve better creations. Generally, this activity is done on polystyrene, but especially on wood.
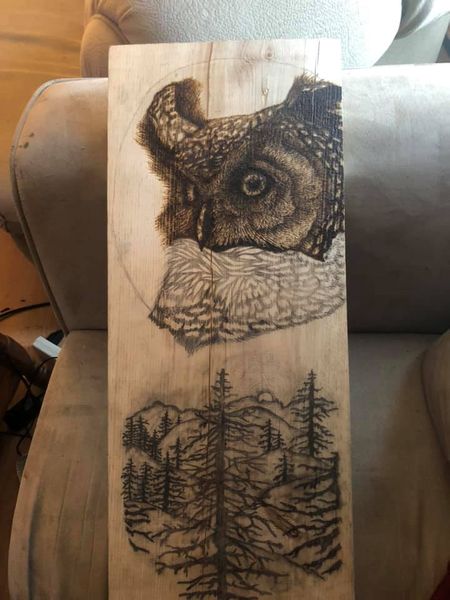
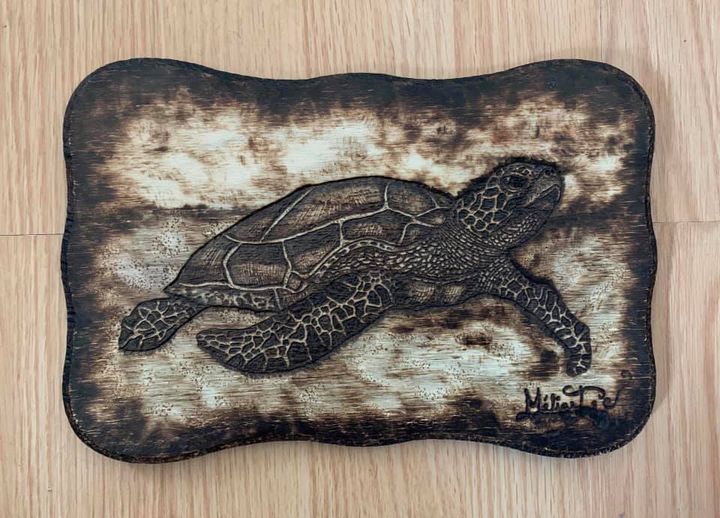
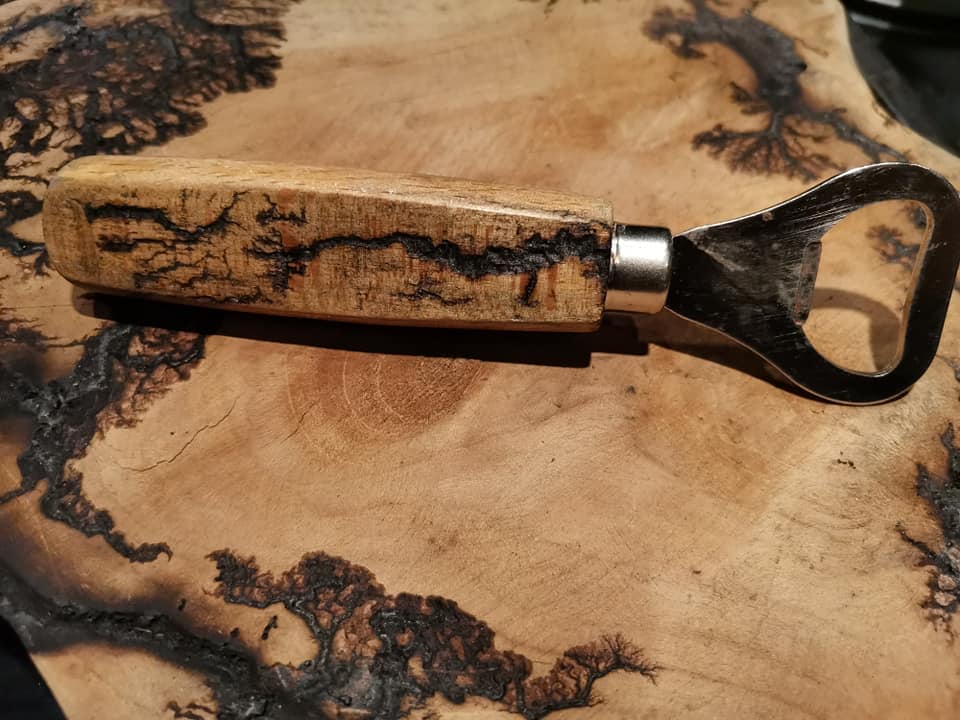
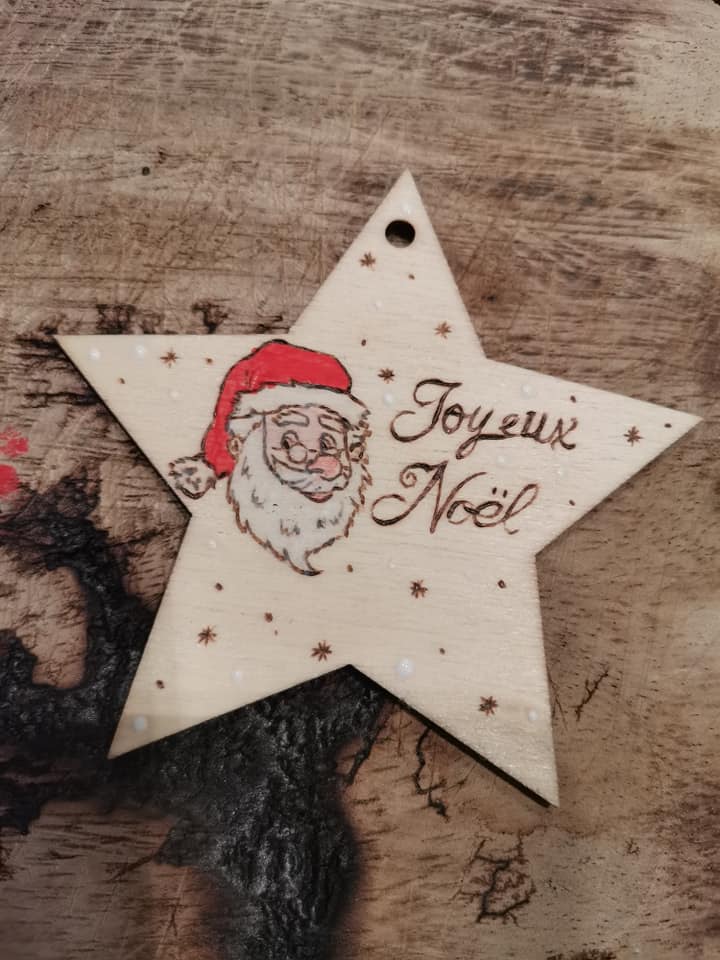
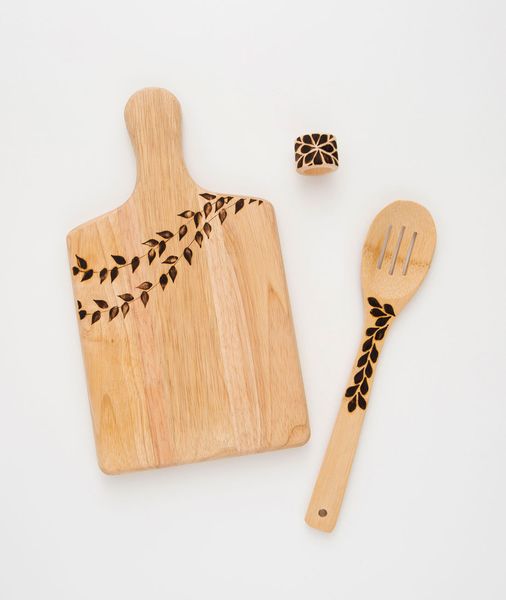
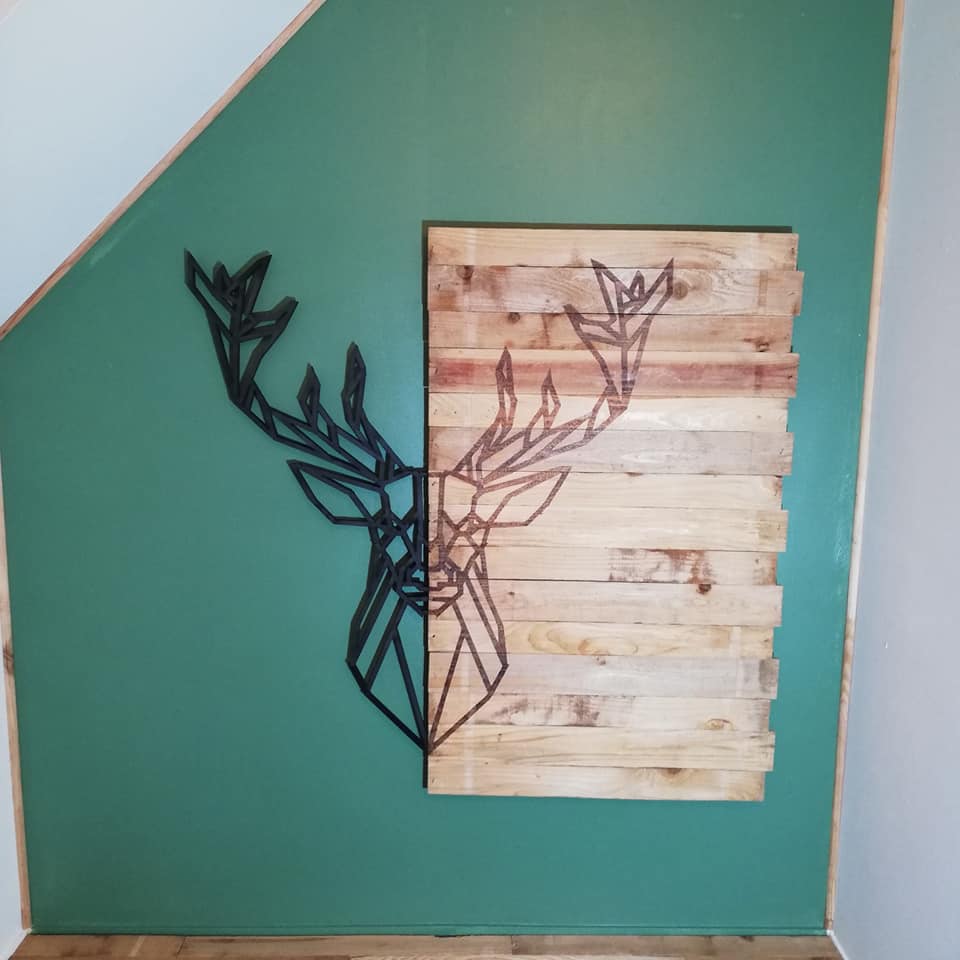
You can engrave drawings, texts, symbols, or patterns on the material. It all depends on your inspiration. You can personalize your old objects or create true works of art. To do this, simply burn the piece with the tip of the pen.
Just like choosing the pyrography pen, selecting the support material should not be taken lightly. It could impact the quality of your work. To avoid mistakes, this article guides you in choosing the right material. But before getting to the heart of the matter, let’s first try to define what is meant by pyrography.
Selection criteria: I consider the choice of wood species as the most decisive step in your creative project, well before the quality of your machine. In my opinion, unsuitable wood is the number one cause of discouragement among beginners. I believe you should favor light-colored woods with tight grain and few veins: because they act as a perfect blank canvas that does not disrupt the tracing of the tip. In my view, it is a subtle balance to find between the softness of the fiber and the low resin content to avoid excessive smoke and blurry lines.
What is wood pyrography?
Pyrography has become increasingly trendy lately. Since it is accessible to everyone, you want to try your hand at it too. To avoid misinformation, it is essential to have more information about this manual activity.
| Element | Description |
|---|---|
| Definition | Artistic technique that consists of engraving wood using a heated tip. |
| Main tool | Electric pyrography pen (similar to a pen with heated tips). |
| Materials used | Untreated light wood (e.g., birch, pine, poplar). |
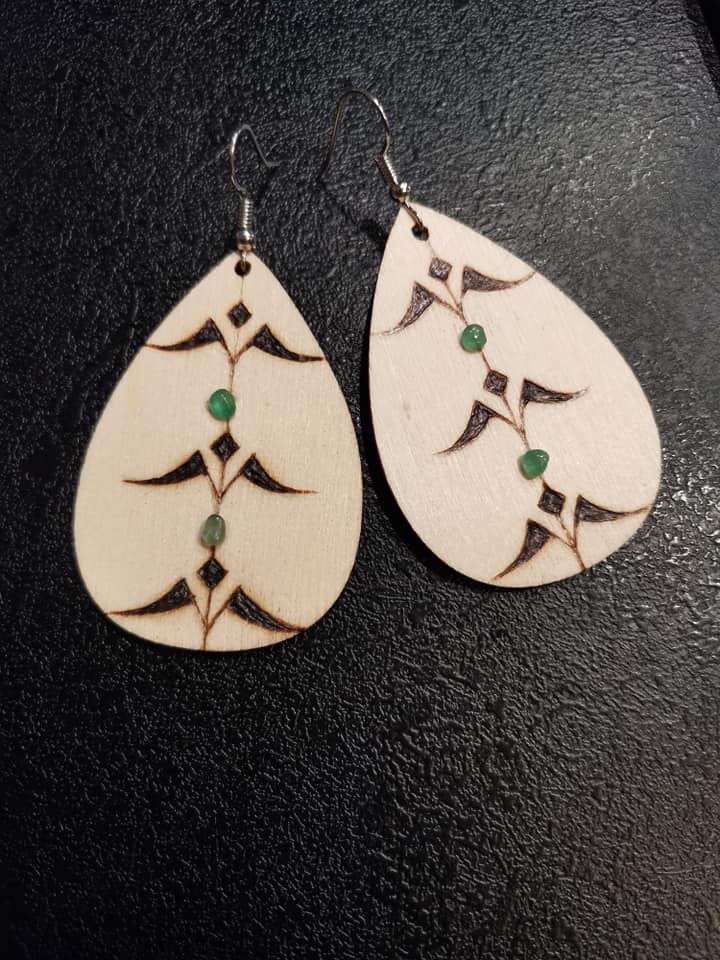
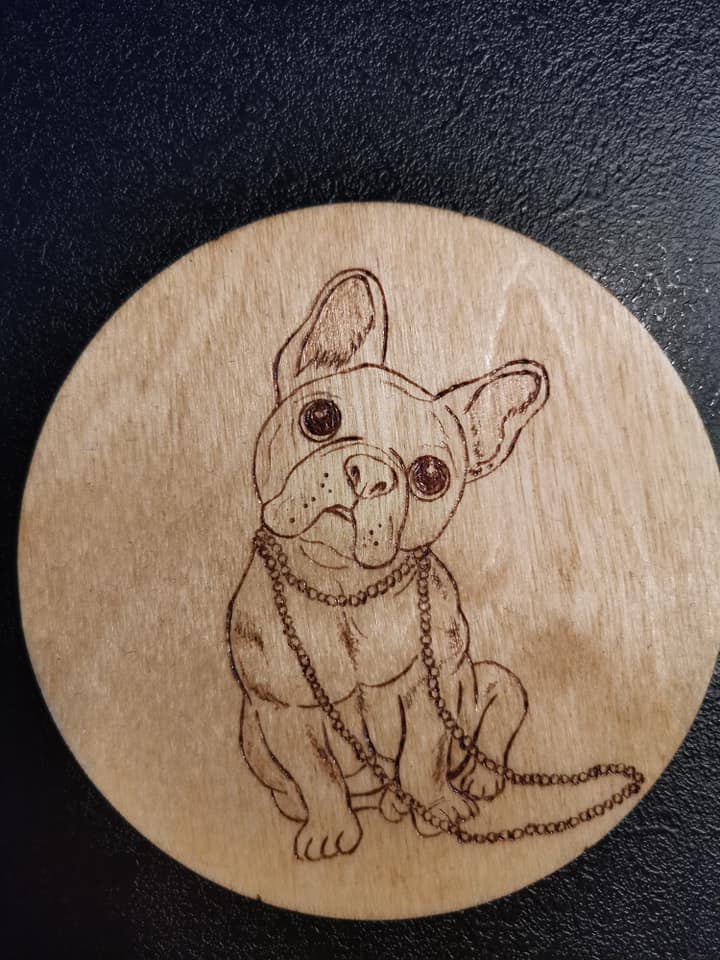
| Types of creations | Decorative patterns, lettering, portraits, drawings, object personalization. |
| Difficulty level | Accessible to beginners but requires precision and practice. |
| Advantages | Durable, aesthetic, possibility of unique customization. |
| Precautions | Work in a ventilated space, avoid treated woods, beware of burns. |
| Common applications | Decoration, crafts, personalized gifts, wooden signage. |
When I started out, I had recovered a superb piece of Scots pine with very distinct markings to carve a detailed portrait. The realization was immediate and frustrating: as soon as my tip met a harder resin vein or a knot, it stopped abruptly or slipped suddenly, creating black blobs impossible to fix. The wood “dictated” its design at the expense of mine. The day I bought my first linden wood board, I felt like I had gone from drawing on gravel to drawing on tissue paper. This experience taught me that in pyrography, the neutrality of the wood is your best ally to let your technique express itself rather than the whims of the grain.
Definition of Wood Pyrography
This activity is not limited to wood. You can practice it on many materials such as cork, leather, polystyrene, bone, ivory including rigid and delicate materials like glass or stone. But in this article, we will focus only on wood.
Back to our topic, pyrography is defined as a creative art of drawing. This engraving technique also aims to imprint a decoration or pattern on a piece of wood. To achieve this, you use a special tool called a pyrographer. It is equipped with a highly heated tip. Due to the high temperature, you burn the surface to obtain the desired shapes or drawings.
Pyrography is a hobby that ranks among manual activities. It is notably used in the art of decoration. It awakens your interest to create, to have an original object, and also to renovate a worn material. It has gained many enthusiasts recently as it is a source of pure pleasure.
Moreover, it is not only economical but also accessible to everyone. Child or adult, woman or man, anyone can practice it with ease.
History of Pyrography
Pyrography is not a recent invention. It dates back to around 700 BC. Archaeological excavations discovered it on a vase depicting birds in Peru.
Besides that, some researchers have stated that the Romans also practiced this creative art using fire. To support their claim, they found decorated horns.
In Europe, the activity began to be known in the Middle Ages. Famous writers like Rembrandt and Victor Hugo became true enthusiasts.
In Great Britain, pyrography emerged during the Elizabethan era. Its presence can be seen on many palace beams.
But at that time, the technique was initially very basic. It evolved over time and gradually improved. The form we know today appeared thanks to Manuel Périer in 1888.
He introduced a engraving device used in the medical field. This instrument later underwent significant improvements through generations.
Equipment Needed for Pyrography
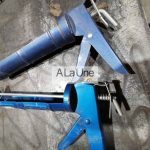
To engrave illustrations, words, or patterns on a piece of wood, you need a tool called a pyrographer. It is the ideal tool to perform engraving and decoration of the surface by burning and carving it.
Similar to a soldering iron, this device is equipped with a handle and tube featuring a pyrography tip.
Made of brass, it comes in many shapes with properties suited to this type of application. Once heated, it is used to vary and create original designs.
Some models have been very successful commercially. If you are thinking of getting one, do not hesitate to read our article on the professional Dremel pyrography tool.
Regarding the operation of the device, the pyrography tool is used to draw with a high temperature that can reach up to 200 °C. The heated tip is applied to the wooden surface. The burn mark allows you to create an engraving or a pattern of your choice.
There are two types of pyrography tools. The basic version has only one heat setting. It is intended for beginners and children. The other model operates with variable temperature allowing multiple adjustments.
It is reserved for specialist painters. By the way, we invite you to read our article: How to choose the best professional pyrography tool?
Steps to create pyrography
- Prepare the wood: choose raw, unvarnished wood, sand and clean the surface.
- Draw the pattern: sketch with a pencil or trace using carbon paper.
- Choose the appropriate tip: fine tip for details, broad for areas to darken.
- Pyrograph with precision: follow the lines with light pressure, in the direction of the wood grain.
- Finish the work: add finishing touches with varnish, paint, or patina to protect the design.
This operation requires a few hours of practice before properly handling the device and making beautiful drawings. Unlike painting, drawing with a pyrography tool requires more concentration.
Once you have finished, you can no longer correct the lines. They remain permanently on the wood. It is therefore crucial to carefully follow the following steps:
Prepare the Pyrography Tools
To start, be sure to choose the right material before proceeding with the action. Wood has long been one of the most favored pieces. Sand the surface using appropriate sandpaper.
This step is necessary for ease of use and a better finish.
Once done, make sure to properly clean the surface. Wipe it with a damp cloth. This allows you to remove sawdust. In this way, you can trace more easily.
When choosing the surface to pyrograph, avoid a varnished material, as this could release toxic fumes.
Create Graphic Effects
Before this operation, use a pencil to draw your design. It is also possible to draw directly on the surface or trace using carbon paper.
If you are working with a pyrography pen supplied with several tips, choose the one most suited to your work. The wide tip is good if the area to darken is large. For small details, the fine tip will do the job.
That said, be sure to respect the heating time of the tool. Once the temperature is reached, start using it. Hold it vertically between your thumb and index finger in the same way you hold a pen on paper.
Then follow the lines you previously traced. Avoid pressing too hard with the stylus. On the contrary, a light pressure provides precision to your work. Moreover, it limits the risk of burns.
It is preferable to first draw the outlines, then add the details. It also seems easier to trace in the direction of the wood grain.
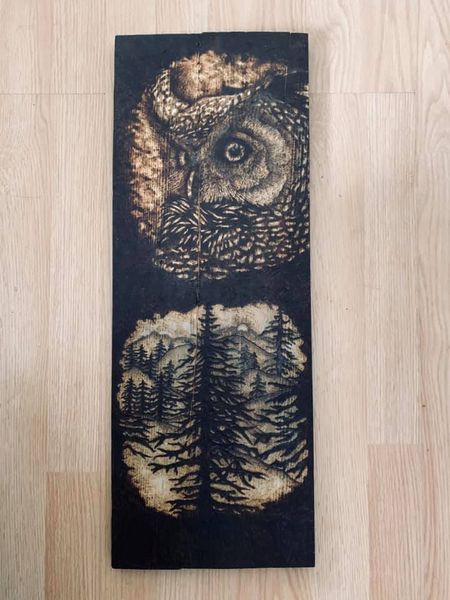
As for the finish, there are many options. You can use inks, paints, or patinas depending on the desired result. Many also use varnish to protect the wood from the test of time.
The Perfect Type of Wood for a Pyrography Pen
Each wooden surface differs by its hardness on a scale from 1 to 10. It is advisable to choose the softest and lightest one, as it burns more easily. A piece of wood is considered soft when it comes from coniferous or resinous trees.
If you are beginning in pyrography, choose ash, linden, maple, pine, and birch. They prove to be easier to work with. When you master the technique and feel more comfortable with it, do not hesitate to try harder woods.

Besides their expensive price, they seem less sensitive to the heat of the instrument’s tip. They thus require a good temperature setting.
In any case, choose only raw wood and especially not particleboard or varnished wood. Plywood is another alternative to this type of wood. It is distinguished by its multiple layers with large surfaces.
To use it in pyrography, make sure that the top layer can be carved without difficulty.
The right place to buy a wood pyrography tool
There are countless commercial establishments offering this specific tool. If you don’t know much about it yet, avoid buying it in discount stores or supermarkets. To make the right choice, nothing is safer than favoring products in specialized stores.
Of course, they often cost a lot. But if your budget allows it, their purchase will not disappoint you. Many online shops also offer quality pyrography tools. Leroy Merlin, Amazon, eBay, Creavea or Fnac, many brands provide you with a wide selection of items. Take the time to compare prices before making your purchase.
Comparison table of wood species for pyrography
| Wood species | Quality of the line | Difficulty level | Technical feature |
| Linden | Exceptional | Beginner to Pro | The king of pyrography: soft and homogeneous |
| Birch | Very good | Beginner | Very light, ideal for subtle shading |
| Maple | Good | Intermediate | Hard wood requiring a high temperature |
| Poplar | Average | Beginner | Very economical but can be too fibrous |
| Pine / Fir | Difficult | Expert | Too much resin: risk of irregular burns |
Everything you need to know about choosing the ideal wood for your pyrography projects
It is necessary to prepare the surface. To achieve this, the sanding step is essential. Once finished, you can draw on the surface.
Experts recommend softwood and light-colored wood. This material can be easily engraved. For professionals, they can use hardwood. The latter requires some temperature adjustments.
It is recommended to purchase from specialized stores. You can also easily find a good pyrography pen online.