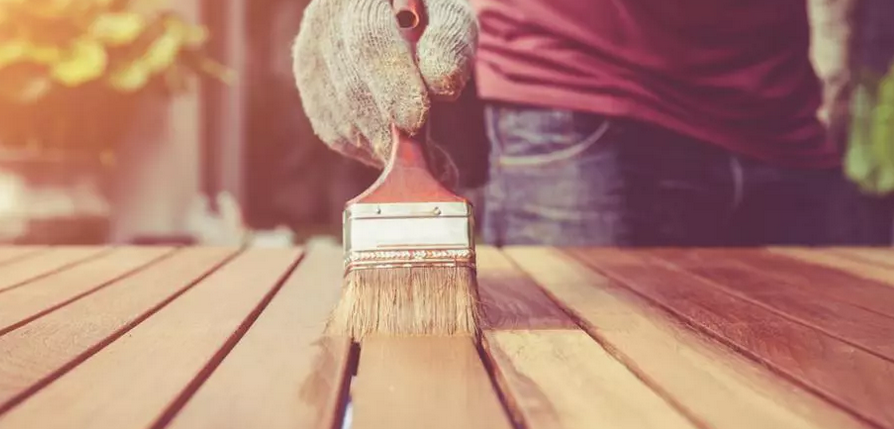
To restore your wooden table, chair, cupboard, or chest to good condition, there are many techniques to apply. Between waxing a piece of furniture, stripping it, or coating it with lacquer, varnishing is one of the most classic, yet most commonly used methods.
If you are a weekend handyman and not very skilled at painting, this article reveals the essentials to know on this subject. To start, it is appropriate to mention the good reasons for varnishing a wooden object.
📋 The essentials at a glance: Personally, I consider varnishing the ultimate step that enhances the wood grain while creating a protective shield against 100% of household stains. It is a rewarding operation that requires patience, especially when sanding between coats. A well-applied varnish guarantees the longevity of your furniture while offering a durable aesthetic finish, whether matte or glossy.
What are the advantages of varnishing a piece of furniture?
🌟 The pros
- Maximum UV/Water protection
- Easy maintenance (sponge)
- Wide range of finishes
🔍 Reservations
- Drying sensitive to dust
- Meticulous application
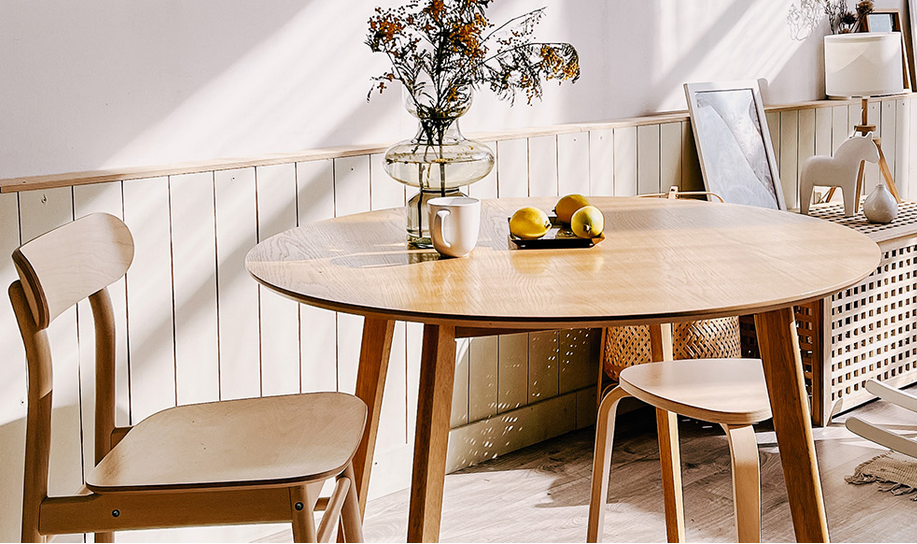
- Protection against moisture: It creates a protective film on the furniture preventing moisture from seeping in. Any water splashes consequently remain on the surface and disappear more quickly. And even if the furniture is exposed to moisture daily, no rings or unsightly stains appear.
- Fixing the paint: Beyond that, varnish provides a better finish for a painted wooden object. It not only protects it from moisture but also fixes the paint. Using it is an excellent idea for a dining table that is heavily exposed to moisture and grease.
- Aesthetic enhancement: Its role does not stop there! It is also used to enhance the wooden surface. If you choose matte varnish, it protects the wood surface without shining it. For satin varnish, it reflects light. Glossy varnish, meanwhile, highlights the furniture.
- Ease of maintenance: Regardless of the shine or gloss, any wood varnish simplifies cleaning the furniture. Thanks to the product, it is easily dusted with a damp cloth. It not only beautifies or protects the wood but also extends its lifespan.
📍 My experience: In 2025, while restoring a coffee table, I wanted to apply a second coat of varnish without waiting for the first to dry completely. Result: the brush “pulled” the still-soft material, creating brush marks impossible to smooth out. The lesson is simple: strictly respect the manufacturer’s drying times. In woodworking, haste is often the enemy of transparency and finesse of the finish.
How to prepare the furniture before varnishing?
If your chair or table is made of raw wood, it requires only minimal preparation. To start, make sure to smooth it following the direction of the wood grain.
Unlike ceiling sanding, this operation does not require the use of a sander. You can simply use 120-grit sandpaper and you’re done.
That said, the next step is to dust off the surface. To do this, use a vacuum cleaner equipped with a flat nozzle. Take a flat brush and apply a primer. For moldings, it’s better to use a round brush.
After drying, you can lightly sand the primer coat with 120-grit sandpaper. It’s best to act gently without pressing too hard to avoid damaging the furniture.
The final phase is to remove dust using a vacuum cleaner. Then wipe with a damp sponge and dry using a microfiber cloth.
💡 Practical tip
For a flawless finish, use a high-quality synthetic bristle brush or a short-nap lacquer roller (5 mm). A good tool does not shed bristles, which prevents ruining your work at the critical smoothing stage.
What types of varnishes are available and which is most suitable for my furniture?
(function(){if(window._alpLd)return;window._alpLd=1;var s=document.createElement(‘script’);s.src=’https://cdn.jsdelivr.net/npm/alpinejs@3/dist/cdn.min.js’;s.defer=true;document.head.appendChild(s);})()Wood varnish comes in countless varieties. You can choose according to the type of wood composing the furniture, its natural shades, and the desired finish.
If you are looking for a discreet look, matte varnish will suit you very well. Glossy varnish, on the other hand, provides more aesthetics and shine to an aged chair, chest, or table.
You can also find solvent-based varnishes on the market. They come in many different colors. Despite their variety, it is recommended to use them sparingly as they emit strong persistent odors.
That is why it is not advisable to place a solvent-based varnished piece of furniture in a room where there is a pregnant woman or in a child’s bedroom.
There are also water-based varnishes. This product is favored for its ease of application and easy cleaning. However, it is not as durable as solvent-based varnishes. Its lifespan is limited.
Since its introduction, bio varnish has been gaining ground in the market. As its name suggests, it is made from natural ingredients. Consequently, it poses no risk to the environment or health.
When the European ecolabel appears on the product, know that it has a low level of VOCs or volatile organic compounds.
🌍 Did you know?
Modern water-based varnish (aquarethane) releases 10 times less Volatile Organic Compounds (VOCs) than older solvent-based varnishes, while now offering equivalent shock resistance.
How to choose the right brush for applying varnish?
There are several tools that can be used to varnish a piece of furniture. You can choose between a short-haired roller, a thumb brush, a spalter, a paint spray gun, or a flat brush.
The latter is among the most used by professional painters. It combines both practicality and efficiency to deliver excellent results.
Even if you need to treat larger surfaces, this type of brush will not disappoint you.
However, it is not suitable for finishing work. In this case, opt rather for a round brush. This one is also recommended for those seeking precision.
What is the best technique to apply varnish on furniture?
| Technique | Description | Advantages | Disadvantages | Recommended for |
|---|---|---|---|---|
| With a brush | Manual application with a soft-haired or silk brush. | Easy to master Ideal for small surfaces or details | May leave brush marks Longer drying time | Small furniture, moldings, touch-ups |
| With a roller | Use of a foam or lacquer roller to spread the varnish. | Uniform application Fast on large surfaces | Less precise in corners May create bubbles if misused | Tabletops, doors, flat surfaces |
| With a spray gun (spraying) | Projection of varnish under pressure with a paint spray gun. | Very smooth and professional finish Time-saving on large pieces | Requires specific equipment Needs a well-ventilated space | Large furniture, professional projects |
| With a cloth (tampon varnishing) | Application by rubbing with a cloth soaked in varnish. | Soft and satin finish Ideal for oil-based varnishes | Slow technique Less suitable for large surfaces | Antique furniture, restoration, delicate finishes |
General tips for a successful application:
- Wood preparation: Always sand the surface with fine sandpaper (grit 180 to 240) before applying varnish.
- Cleaning: Carefully dust off to avoid impurities in the varnish.
- Applying thin coats: Several thin coats are better than one thick coat.
- Drying time: Respect the time indicated on the product between each coat.
- Sanding between coats: Light sanding between coats improves adhesion and finish.
⚠️ Classic trap
A common mistake is to shake the varnish pot vigorously to mix it. This creates thousands of micro air bubbles that will remain trapped in the dry film. Always stir gently with a flat stick to homogenize the pigments without incorporating air.
Before varnishing your furniture, you first need to determine if it has already been varnished. If so, you must strip it using a product designed for this purpose and remove the layers of varnish with a spatula.
Since the stripper contains chemical substances, it must be handled with care. Please wear gloves, goggles, and a special mask to protect yourself.
After this step, sand the furniture with sandpaper so that the varnish adheres properly. Choose the grit depending on the type of wood.
If solid wood can handle a medium grit, the more fragile type requires a finer grit. When the furniture has cracks or holes, it must be repaired beforehand with putty or filler.
Once this step is finished, make sure the surface is completely dust-free. As soon as it is ultra clean, you can apply the varnish.
Use a flat brush to apply the first coat. Always follow the grain of the wood. Let dry for one or two days.
Then sand the surface using abrasive paper no. 00 and clean it. Once thoroughly dry, apply a second coat.
If you want the wood to be brighter, you can apply a third coat of varnish.
How many coats of varnish should be applied for an optimal result?
As a general rule, it all depends on the desired finish. In any case, two or three coats are usually enough to varnish a piece of furniture effectively and beautifully.
There is no need to apply multiple coats. Otherwise, it can harm the final appearance of the furniture.
When the expected result is not achieved, one sometimes tends to thicken the varnish on the surface. However, this is the wrong technique. To avoid this, these few tips should be followed:
To hold the brush, tilt it at 30°. Start with the edges of the tabletop, then the center, and finish with the outside.
There is no need to dip it again for each area. With a flat brush, spread the varnish efficiently. Be sure to respect the drying time, which is often indicated in the manufacturer’s instructions.
How to avoid bubbles and scratches when applying varnish?
If you have properly prepared the surface, it is possible not to leave marks after applying the varnish.
You will therefore not have to fix scratches or bubbles. The purpose of the preliminary phase is to remove the old varnish, the layer of grease, and dirt.
For this, use a thinner or stripper product to thoroughly clean the furniture.
Once this step is finished, use a fine-grit sandpaper to sand the entire surface. The last step is to vacuum to remove dust.
When applying the different coats, always work in the direction of the wood grain.
Generally, the first coat shows imperfections such as scratches and bubbles after drying. Fortunately, a second coat makes them disappear.
You can get rid of them with a very light stroke of a brush at 90 degrees. Try to varnish faster, since the water-based product dries very quickly. Otherwise, it is possible to sand between the two coats.
How to protect the furniture surface during the varnishing process?
To prevent the wood varnish from dripping everywhere, protect the work area by covering it with a tarpaulin. Make sure to ventilate the room where you are working well. This prevents dust and dirt from settling on your furniture.
If the furniture is easily detachable, take advantage of this to work only on the parts to be varnished. This greatly facilitates the tasks.
<!– wp:yoast/faq-block {"questions":[{"id":"faq-question-1682036940393","question":"How to maintain the furniture after the varnishing process to ensure maximum durability?","answer":"You do not need to varnish the furniture frequently to keep its shine. You only need to dust it from time to time. As for cleaning, a sponge soaked in soapy water restores its shine.","images":[],"jsonQuestion":"How to maintain the furniture after the varnishing process to ensure maximum durability?","jsonAnswer":"You do not need to varnish the furniture frequently to keep its shine. You only need to dust it from time to time. As for cleaning, a sponge soaked in soapy water restores its shine.","jsonImageSrc":""},{"id":"faq-question-1682036942904","question":"What is the recommended drying time between each coat of varnish?","answer":"A coat of varnish dries in 24 to 48 hours. This duration must be respected to achieve good results.”,”images”:[],”jsonQuestion”:”What is the recommended drying time between each coat of varnish?”,”jsonAnswer”:”A coat of varnish dries in 24 to 48 hours. This duration must be respected to achieve good results.”,”jsonImageSrc”:””}]} –>You do not need to varnish the furniture frequently to keep its shine. You only need to dust it from time to time. As for cleaning, a sponge soaked in soapy water restores its shine.
A coat of varnish dries in 24 to 48 hours. This duration must be respected to achieve good results.