The installation of plasterboard rails is a crucial step in interior design, allowing the installation of partitions in plasterboard sheets and effectively structuring spaces. Whether you are a novice or an experienced DIYer, mastering this technique can transform your renovation projects. Discover how to carry out this task with precision thanks to a step-by-step method.
Materials and tools needed for installing plasterboard rails
Before starting the installation of your metal framework, it is essential to properly prepare your equipment. Adequate gear guarantees not only the quality of the work but also your safety throughout the process.

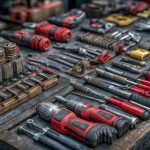
Here is a list of the main tools needed to successfully complete your project:
- Electric drill with a hammer function
- Bubble level or laser level to ensure alignment
- Tape measure for precise measurements
- Hacksaw to adjust the length of the rails
- Screwdriver to facilitate fastening
- Crimping pliers to connect the studs and rails
- Anchors and screws suited to the type of wall
Choosing your materials: plasterboard sheets and metal rails
Plasterboard sheets come in several sizes and finishes, depending on their use. For a standard partition, opt for BA13 sheets. The metal rails ensure the solidity of the structure, so it is important to select those best suited to the configuration of your space.
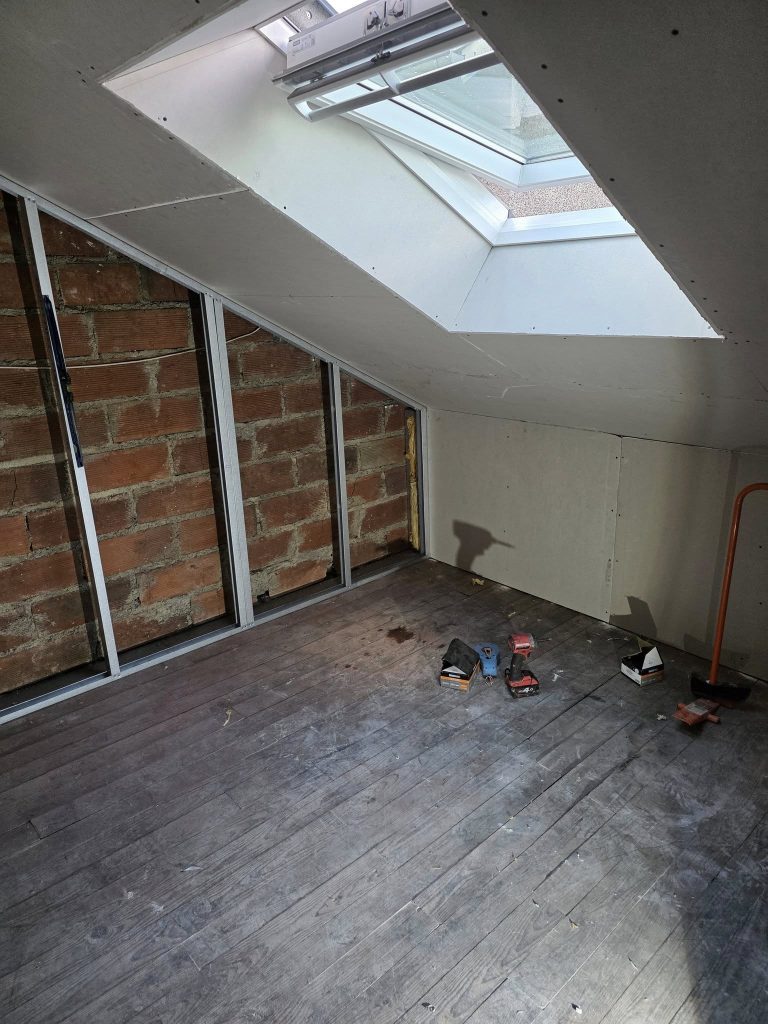
The metal framework generally consists of horizontal rails fixed to the floor and ceiling, as well as vertical studs embedded between these rails to reinforce the rigidity of the whole. Ensure dimensional compatibility between your plasterboard sheets and the chosen framework.
Detailed steps for installing plasterboard rails
Marking locations and installing the rails
Start by determining the exact location of your future partition. Use a spirit level or laser to draw straight lines indicating where the rails will be placed on the floor and ceiling. Make sure these lines are perfectly parallel to facilitate the later installation of the plasterboard sheets.
Once the marking is done, carefully drill the floor and ceiling at regular intervals to insert plugs and screws. Then use the drill to fix the rails, ensuring they are properly aligned with your drawn guides. This rail fixing forms the base of your metal framework.
Assembly of studs and insertion of insulation
The studs are inserted vertically between the rails already installed. Place them at regular intervals, usually every 60 cm, which corresponds to the standard width of plasterboard sheets. Make sure each stud is properly installed using a crimping tool to strengthen the connections.
To improve sound and thermal insulation, insert an insulating material between the studs before installing the sheets. Choose an insulation suitable for the requirements of your room such as glass wool or rock wool for optimal performance.
Practical tips to optimize your project
Tips for better fixing
One of the major challenges lies in fixing the rails when the supports are not perfectly smooth. Using wooden shims under the rails can help compensate for irregularities. Also, make sure to tighten all screws as much as possible and regularly check the alignment during the progress of the work.
When using plugs, ensure that they match the characteristics of the wall. If the support is crumbly, prefer expansion plugs which provide better grip.
Ensuring perfect alignment
Using a laser ensures that the marking is perfectly straight and at the same level between floor and ceiling. Investing in this tool can greatly simplify the initial calibration and save you many errors that could affect the entire structure.
If you only have a spirit level, take the time to check each section after fixing each rail and stud. This regular check avoids unpleasant surprises during the installation of the plasterboard sheets.
Safety and best practices
Respecting safety rules on the site is essential. Wear protective glasses when using a hacksaw, and gloves to handle metal elements safely.
Take care to keep a tidy work environment by gradually clearing metal scraps and other unused tools to avoid accidents. Good management of your space also boosts the efficiency of your work.
To go further in interior design, discover how to properly sand plaster: learn the basics to successfully install a complete plasterboard partition: and explore solutions to prepare a floor before work.
Frequently asked questions about installing plasterboard rails
For fixing the rails, use countersunk screws suitable for the wall material. For a concrete wall, favor concrete screws, while for a plaster or brick wall, opt for anchor screws. A strong fixation depends on choosing the right screw for your support.
To optimize insulation, place glass wool or rock wool insulation between the studs. Take into account the thickness available between the studs to choose the right type of insulation. The goal is to completely fill the spaces to limit potential thermal and acoustic bridges.
It is not recommended to hang heavy loads directly on the boards without prior reinforcement. Plan reinforcements between the studs if you need to hang heavy objects, such as heavy shelves or electronic equipment, to avoid damage to your partition.
When the walls are not perfectly straight, use wooden shims under the rails to adjust the alignment. This helps maintain a flat surface for the subsequent installation of the boards. By doing so, you avoid costly additions of plaster to level later.