As a carpenter, to plane a wooden board I use either an electric planer or a stationary planer. There are many models of planers on the market. The choice depends particularly on the type of work for which it is used.
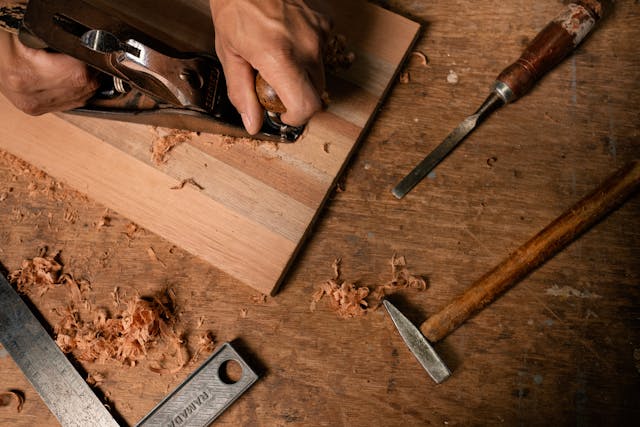
If you plan to plane a large quantity of boards, a motorized planer makes the tasks easier. On the other hand, if your projects require extreme precision, it is better to use a hand planer.

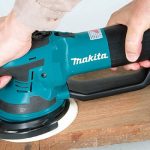
Capable of replacing a sander, this tool allows you to smooth a board with more finesse. Many also use it to remove a layer of glue from a piece of wood. In any case, there is nothing faster and more powerful than an electric planer.
The product is particularly intended for large-scale work. Thanks to its powerful electric motor, it allows you to trim or smooth a surface in a flash.
This correction work requires no arm effort. The planer greatly lightens the operation without tiring you. Even if it runs for hours, there is no risk of overheating.
Its other major asset lies in its good maneuverability. Almost all models of electric planers are made with an ergonomically designed handle. As a result, they offer optimized user comfort.
That’s not all, this woodworking tool wears out very easily. Regardless of the integrated technologies, it only requires one adjustment. This is the setting of the cutting depth.
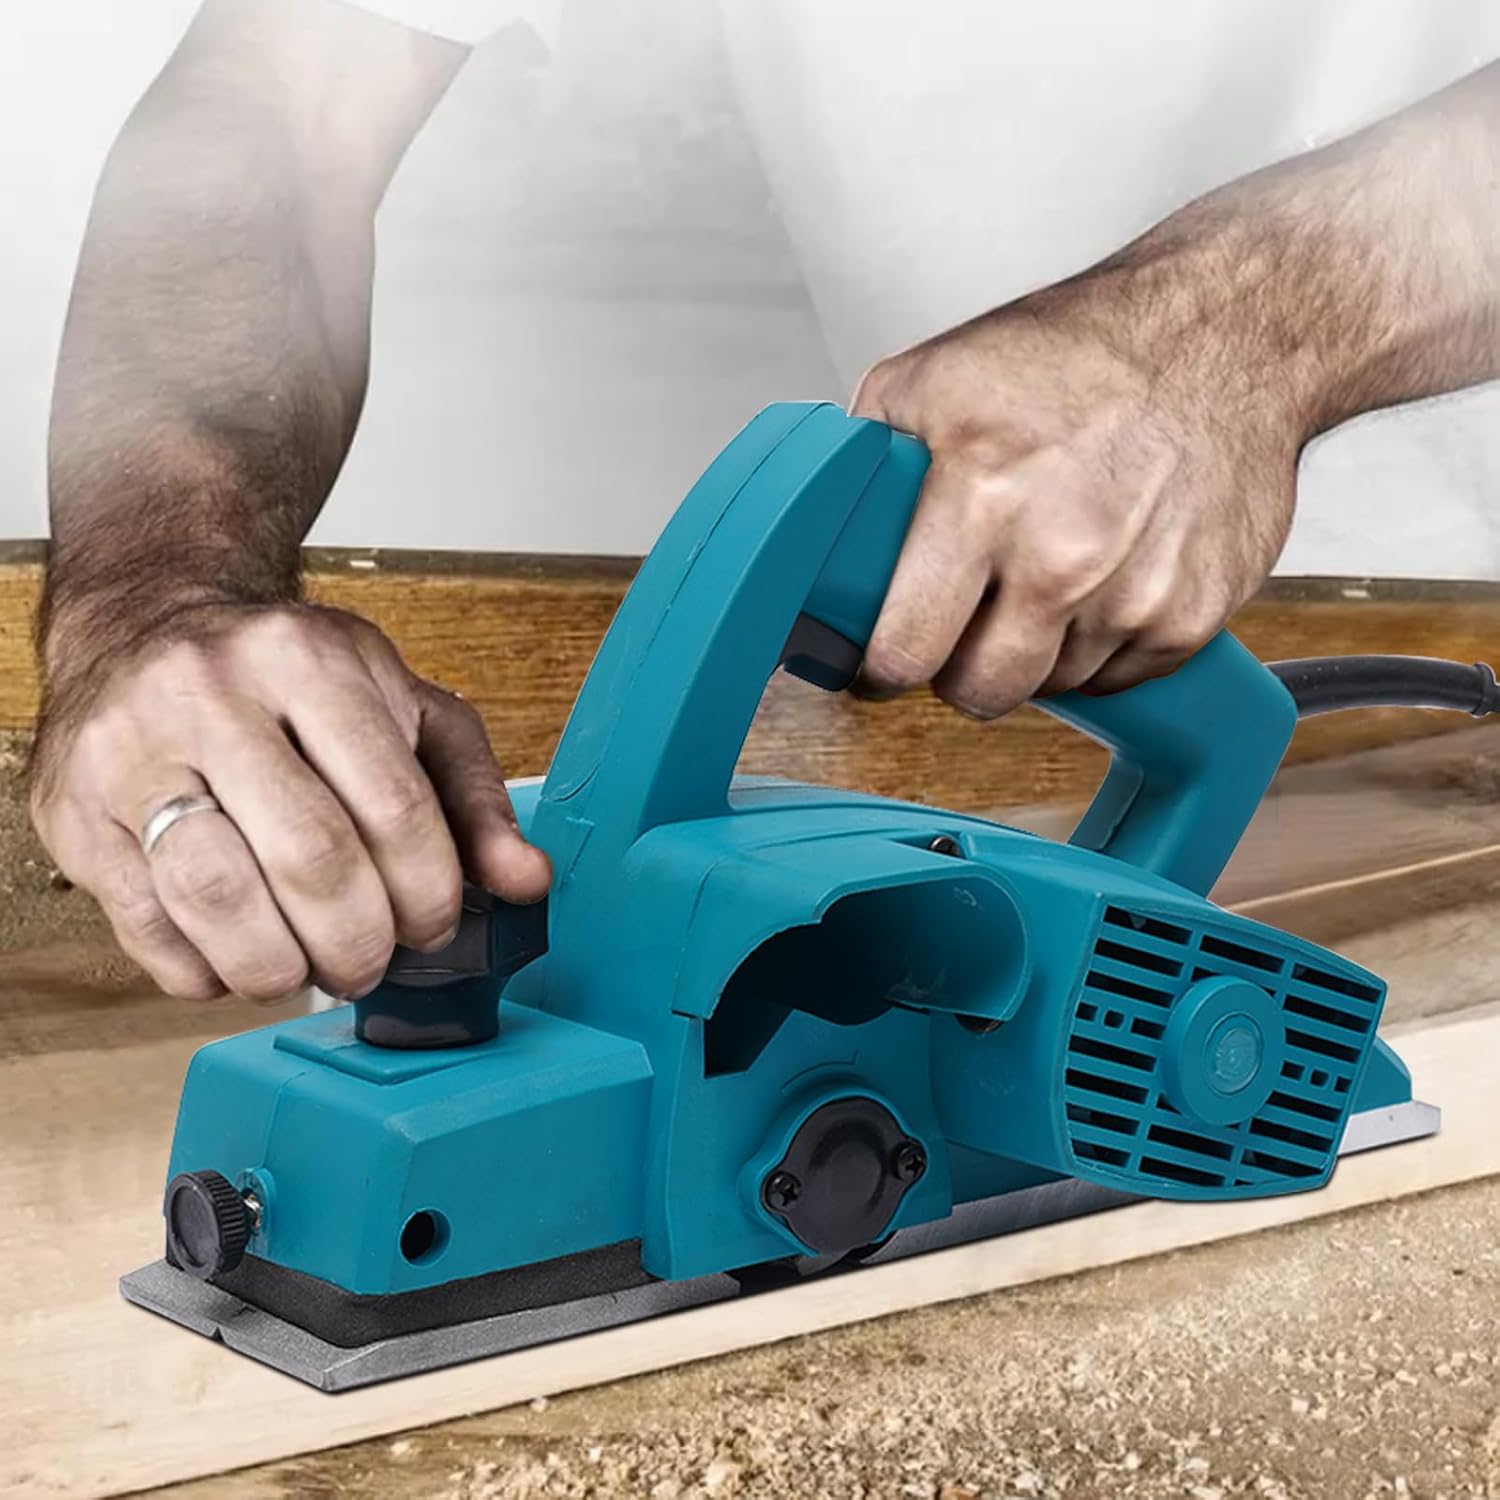
As for the knob located on the front handle, it allows you to adjust the amount of wood to work on. Even if its use is child’s play, the following steps should still be taken into consideration :
Protect yourself with safety equipment
| Step / Equipment | Description |
|---|---|
| Protective gloves | Protect the hands against slips and accidental contact with the sharp parts of the tool. |
| Protective glasses | Essential to avoid chip projections into the eyes, which could cause serious injuries. |
| Dust mask | Filters fine wood particles emitted during planing. Especially indispensable indoors to protect the respiratory tract. |
| Noise-canceling headset | The electric planer generates significant noise that can damage hearing. A noise-canceling headset provides effective auditory protection. |
| Room ventilation (if indoors) | Allows dust particles in suspension to be evacuated and ensures a healthier working atmosphere. |
| Tool check before use | Make sure the planer is in good condition, that the blades are well fixed and sharpened, and that the power cable is not damaged. |
It is important to specify that the electric planer is among the powerful DIY tools. As such, it can cause possible bodily injuries of varying severity. It is therefore essential to equip yourself properly before starting to plane the board.
First, it is strongly recommended to wear protective gloves to protect your hands. Slips can happen when you least expect them. To avoid the worst, this piece covers your fingers.
When planing a board, you cannot avoid wood chip projections. If these chips ever injure your eyes, it can cause an irreparable accident. To prevent this, nothing is safer than equipping yourself with protective glasses.
Professional cabinetmakers or carpenters also wear a dust mask while planing a board. As its name suggests, this accessory prevents fine particles from attacking your respiratory system. If you have to work indoors, don’t forget to properly ventilate the room.
And since the electric planer makes noise, it is necessary to wear a special noise-cancelling headset to protect your hearing organ. Certainly, all these safety devices are not necessarily present during the use of the planer. Nevertheless, they allow you to work in good conditions and safely.
Do not neglect the preparatory stage
Just like cutting, sanding, polishing, or wood carving, planing requires good preparation. The first step is to carefully check the condition of the electric planer.
Take the time to inspect its motor, blades, handle, and many other parts. Once done, you can proceed to adjust its cutting depth. Choose the minimum level to start.
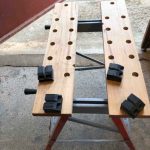
Then, prepare your work surface. To plane a wooden board, for example, you can place the board on a workbench.
If you have a space issue, opt for a foldable tabletop. After planing, it can be stored in a small corner of your workshop.
The work surface must be both clean and dry. Make sure it remains firmly fixed to ensure the board’s stability. If necessary, think about securing it so that the board is immobile along the planing path.
The wood must be firmly fixed; otherwise, it will affect your safety and the quality of the finish. Always try to wipe the workbench after each job.
Still in this step, make sure to thoroughly analyze the board. This helps you better identify the surfaces to be planed. To get a better result, use a ruler to assess the thickness of the part you intend to flatten. With this arrangement, you will make no mistakes.
Choose the right board, because if it has screws or nails, it could damage your electric planer. Work in a place near an electrical outlet. This will make it easier to plug in the device.
Adopt the right gestures
Although you may want to speed up the work, avoid putting too much pressure on the planer. It is advised to use both hands to guide its two handles properly.
The rear handle is used to push the equipment. The second one allows you to steer it. It is through this handle that you can adjust the cutting depth.
Throughout the planing, stay stable and move the upper part of your body. To be comfortable, keep your legs apart during planing. If the board is large, you can move, but only with small steps. Try not to obstruct the power cable’s path.
Proceed with planing
To begin, turn on the device. Maintain the same direction during planing to avoid breaking the board as you go. Experts recommend always adapting to the direction of the wood grain to avoid having to correct each time.
Then follow the marks you made earlier and remove the material. You need to stay focused, because otherwise, the planing will go too deep and it will break the entire board. If necessary, go over the areas that need correction again.
Once you are satisfied with the results, apply sandpaper and you will get a perfectly smooth and flat surface.
If you want a quick but quality job, choose a high-end electric planer. Otherwise, you will need to do some touch-ups after the work. Remember to maintain the device well, as regular maintenance is the key to its long lifespan. Even better, this will increase its performance over time.
Different types of planers
- Manual planer: Ideal for precision work. It allows full control of the movement but requires more time and effort.
- Wired electric planer: Powerful and efficient, it is perfectly suited for regular and prolonged work. Requires a nearby power source.
- Cordless electric planer: More practical thanks to its portability. Compact, lightweight, and easy to use in tight spaces or on site.
- Table planer: Intended for professionals or demanding DIYers who work on large quantities of wood. Mounted on a workbench, it offers power and stability but requires more space and is not mobile.
FAQ
Yes, it is essential to plane in the direction of the grain to avoid splinters and achieve a clean finish. Going against the grain can tear the wood, create irregularities, or even damage the board. If you are unsure about the grain direction, observe the texture or do a light test on one end.
It is recommended to start with a shallow depth, around 1 mm or less. This allows for smooth work and prevents accidentally gouging the board. You can then gradually increase it depending on the surface condition and the hardness of the wood. It is better to make several light passes than one too aggressive.
To work safely, wear gloves to protect your hands from slips, goggles to avoid chip projections, and a dust mask to avoid inhaling fine particles. Ear protection is also advised, as the electric planer can be very noisy, especially during prolonged use.